Adding processes / applications to Action! exclude list
Introduction
If you do not want Action! to monitor selected applications or processes you can use Action! exlude list. In this tutorial you will learn how to create and manage exlude list.
Please remember that when selected application or process is added to exclude list it is not possible to record it with "Games and applications" mode and the HUD is not displayed for excluded applications.
Open Action! installation folder
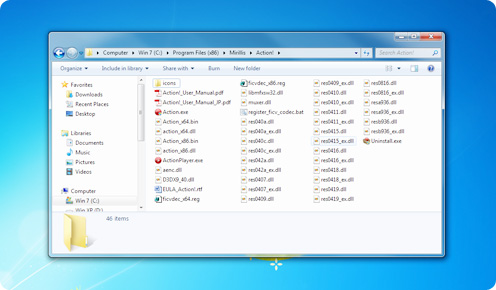
Open Mirillis Action! installation folder. Default installation folder is:
- C:\Program Files (x86)\Mirillis\Action! - for 64bit Windows version
- C:\Program Files\Mirillis\Action! - for 32bit Windows version
Create Mirillis Action! exclude list file
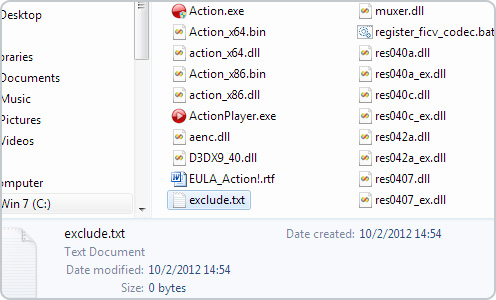
Create a new txt file and rename it to "exclude". You can create txt file in example on your desktop, use right mouse button on your desktop and select New -> Text Document.

Move exclude.txt file to Action! installation folder.
Check process / application name
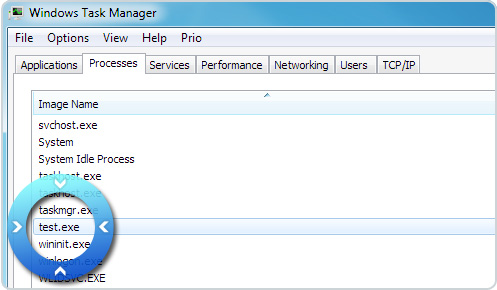
Now check the name of the process or application you want to add to exclude list. Make sure that application you want to exclude is running and open Task Manager. Localize your selected process one the list. In our example it will be test.exe
Add process to exclude list
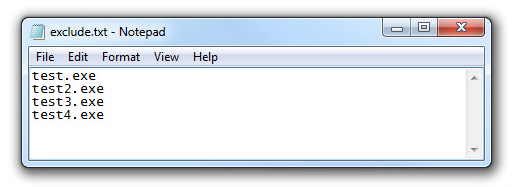
Close Action!, edit exclude.txt, type in selected process name and save file. Run Action!. Action! will not monitor and will not display HUD for processes listed in exclude.txt.
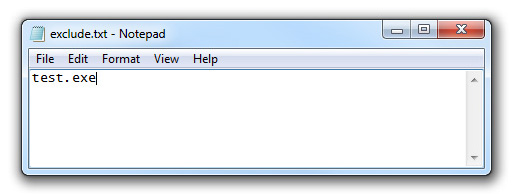
To exclude more processes enter every process name in a new line.
Please remember to close Action! before editing exclude.txt file.