How to capture website screenshot
Introduction
With Action! you can capture screenshots of any website using two different methods – capture fullscreen screenshots or capture screenshots of selected screen area. All captured website screenshots will be saved in your Action! screenshots folder. Website screenshots can be saved in BMP, PNG or JPEG file format.
Fullscreen website screenshots using the Hotkey
To be ready to capture fullscreen website screenshot, make sure that Mirillis Action! application is running and minimized to Windows taskbar or Windows tray. When you want to capture screenshot of a website, press the F12 key (this is deafult capture screenshot hotkey, it can be changed in Action! Hotkeys settings). Captured website screenshots are visibile in Action! Screenshots manager.
Website screenshots using the active desktop region mode
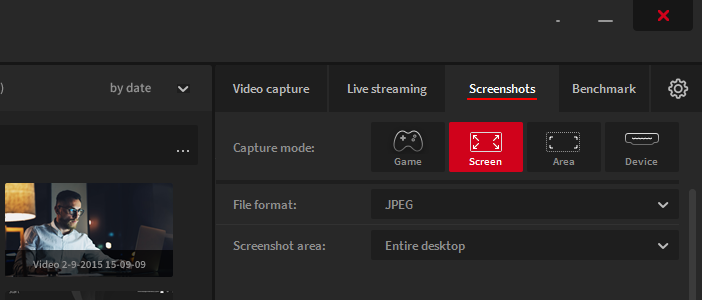
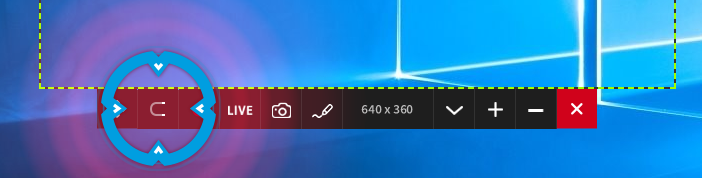
With Active desktop region recording mode you can capture screenshots of selected website region/area. Now, run Action! Application and click on the Active Desktop Region recording mode as shown in a figure below. This launches Action! active desktop region window which allows to adjust your region selection position and size.

If you want to capture the complete website view, you can use “snap to windows” tool to quickly select website view area. You can also change selected area size and position manually.
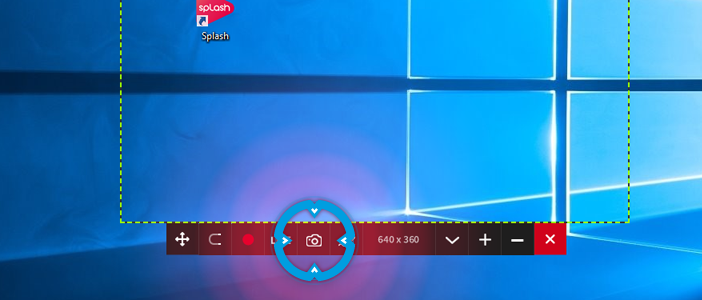
Now press the Capture Screenshots button or use F12 key to make a website screenshot.
All your captured website screenshots are visibile in Action! Screenshots manager. You can use manager buttons, to view website screenshots, delete selected website screenshots or open screenshots output folder.