Are you the type of a gamer who likes to read chat while playing? That’s good because reading and replying to your viewers’ comments is essential to create an amazing streaming experience for your audience. Do you feel tired or disturbed by looking at your chat window on another monitor? Or maybe you are just thinking of buying an additional display?
Wait! Save your money because we have a solution for you! From now on, you will be able to see your chat in-game using a single monitor setup!
You don’t have to spend your money on an extra desktop anymore because now you can view everything on one screen. Also, you don’t need to log into any third party service that will overload your internet connection. And more to it, you will save your GPU power by not rendering output to multiple displays since each additional display consumes additional GPU power.
Unbelievable, right? So, what do you actually need?
Basically, all you need is Action! screen recorder and live streaming software. No matter your computer experience level, the program is extremely intuitive and powerful for both novice and tech-savvy users!
Read the article or watch a short tutorial video below to learn how to view chat over your favorite gameplays in less than few minutes. Ready for the actionable dose of knowledge? Let’s dive right in!
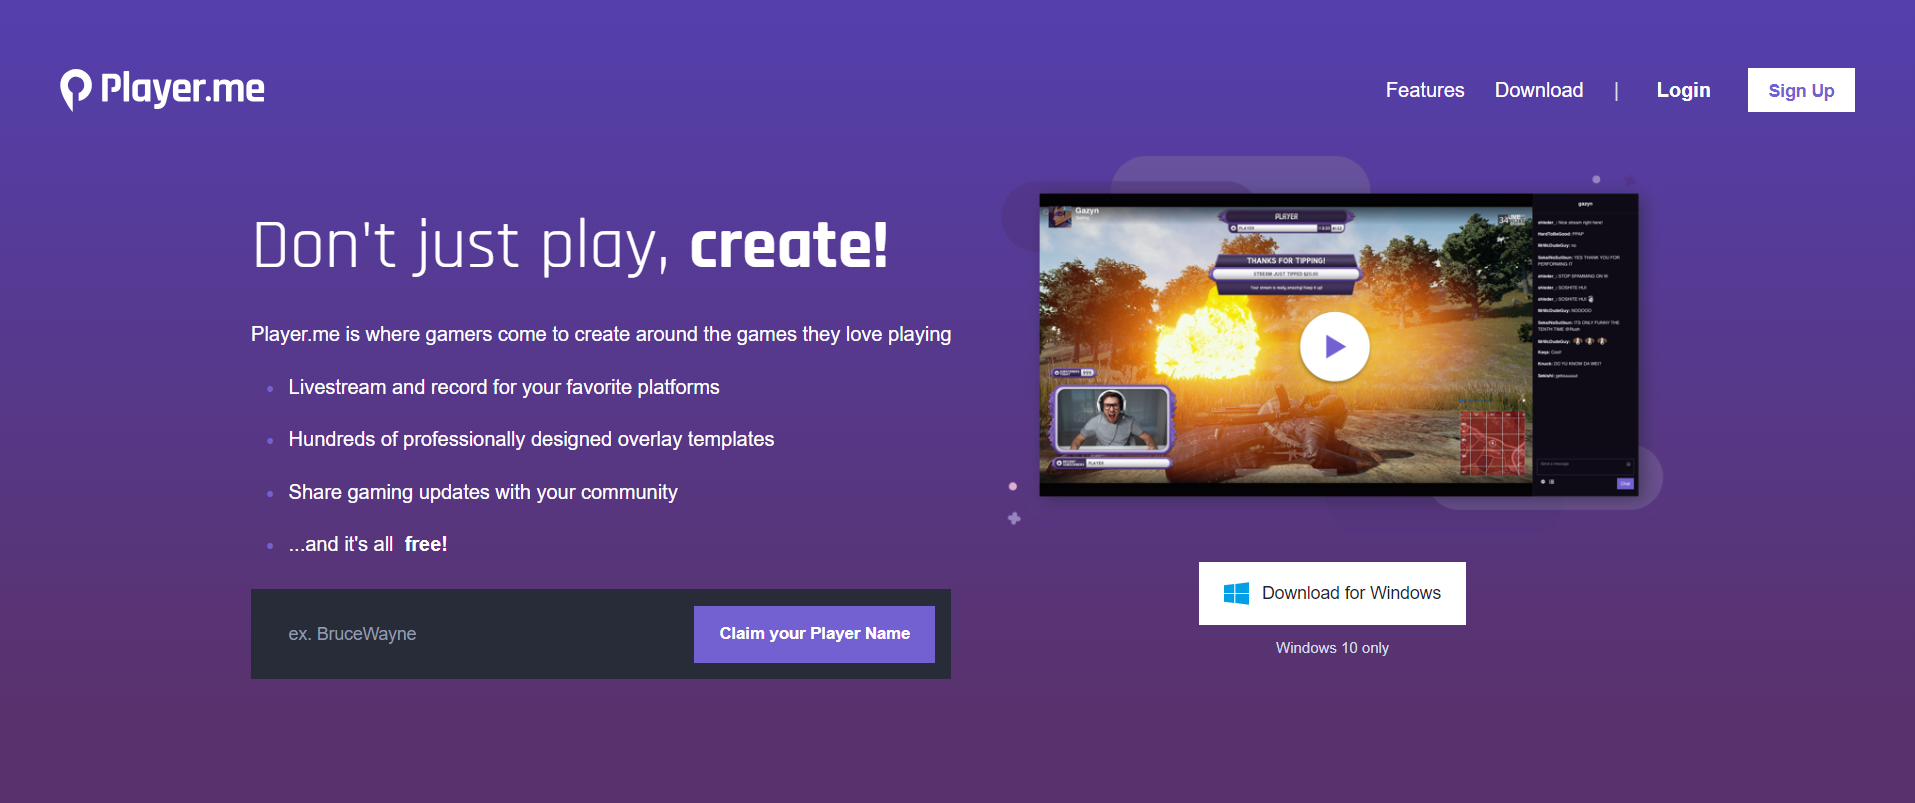
- Go to you your favorite streaming platform to copy your chat widget URL. For the purpose of this tutorial, we will use player.me streaming service.
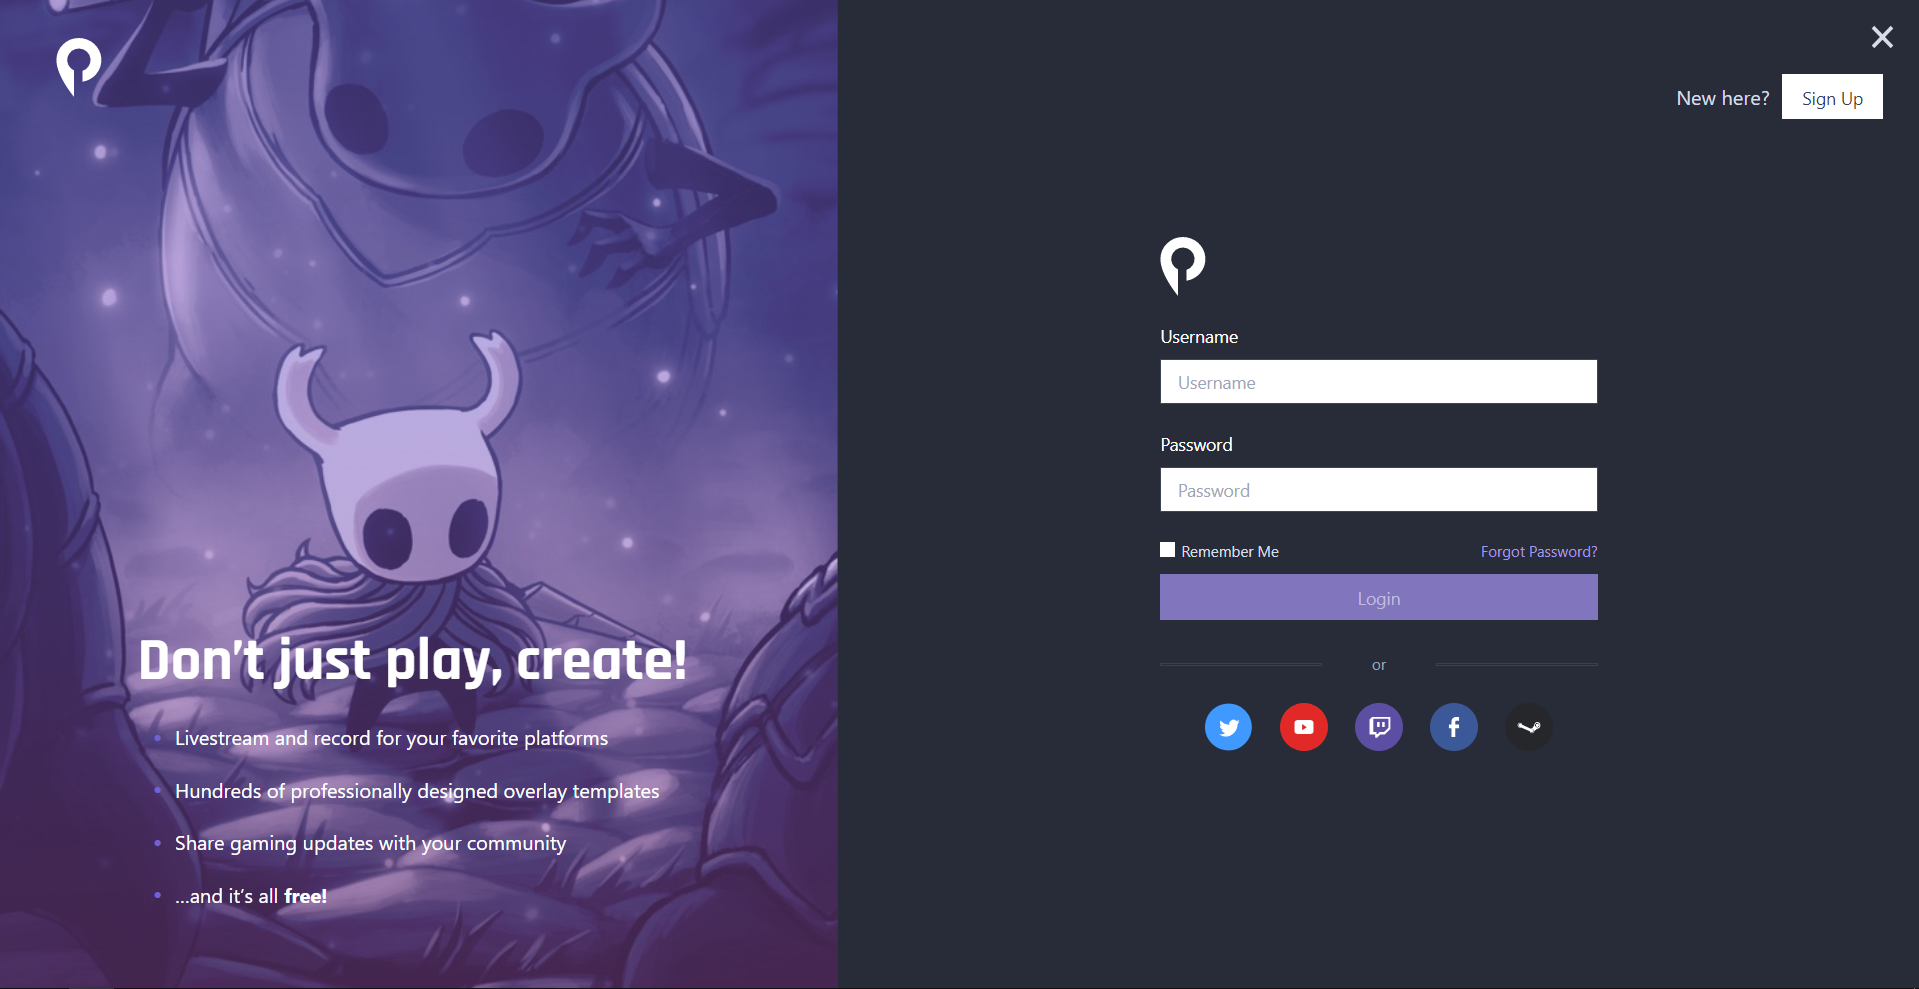
2. Log in using your Twitch/YouTube or other streaming service account.
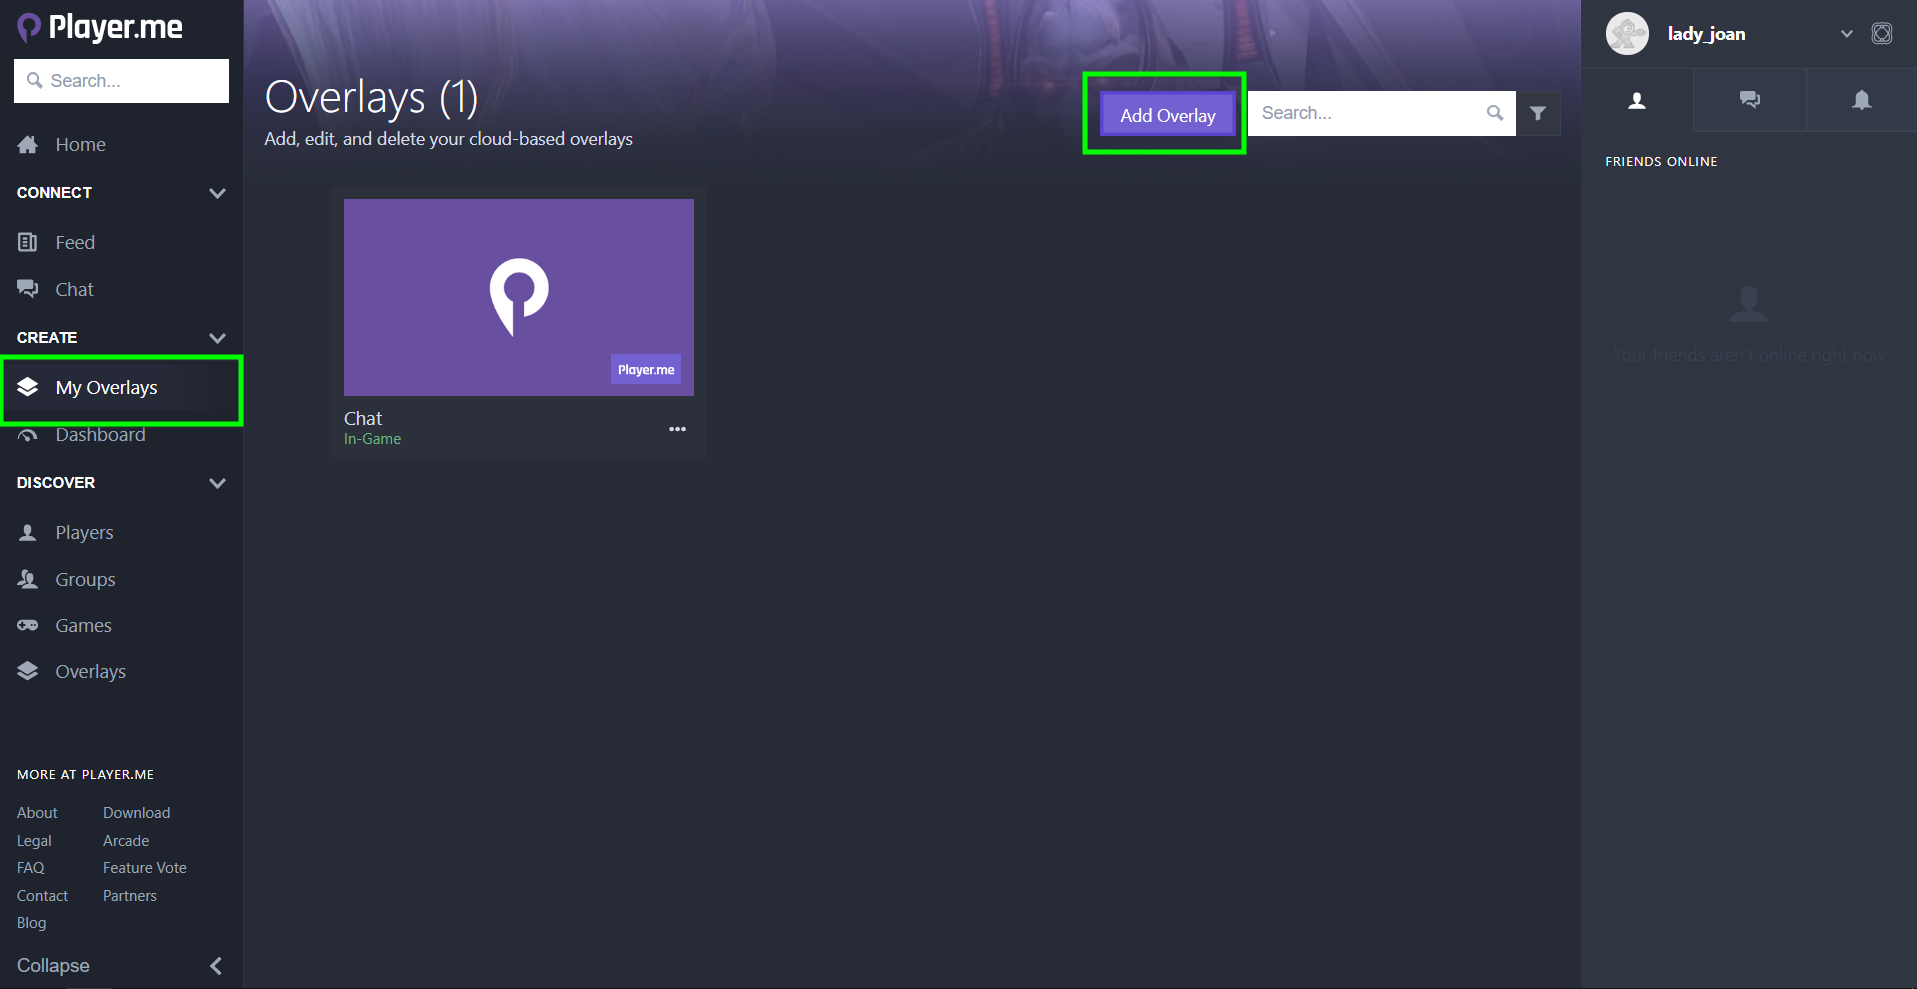
3. Go to the left, click “My overlays” tab. Click “Add overlay” button to create a new overlay.
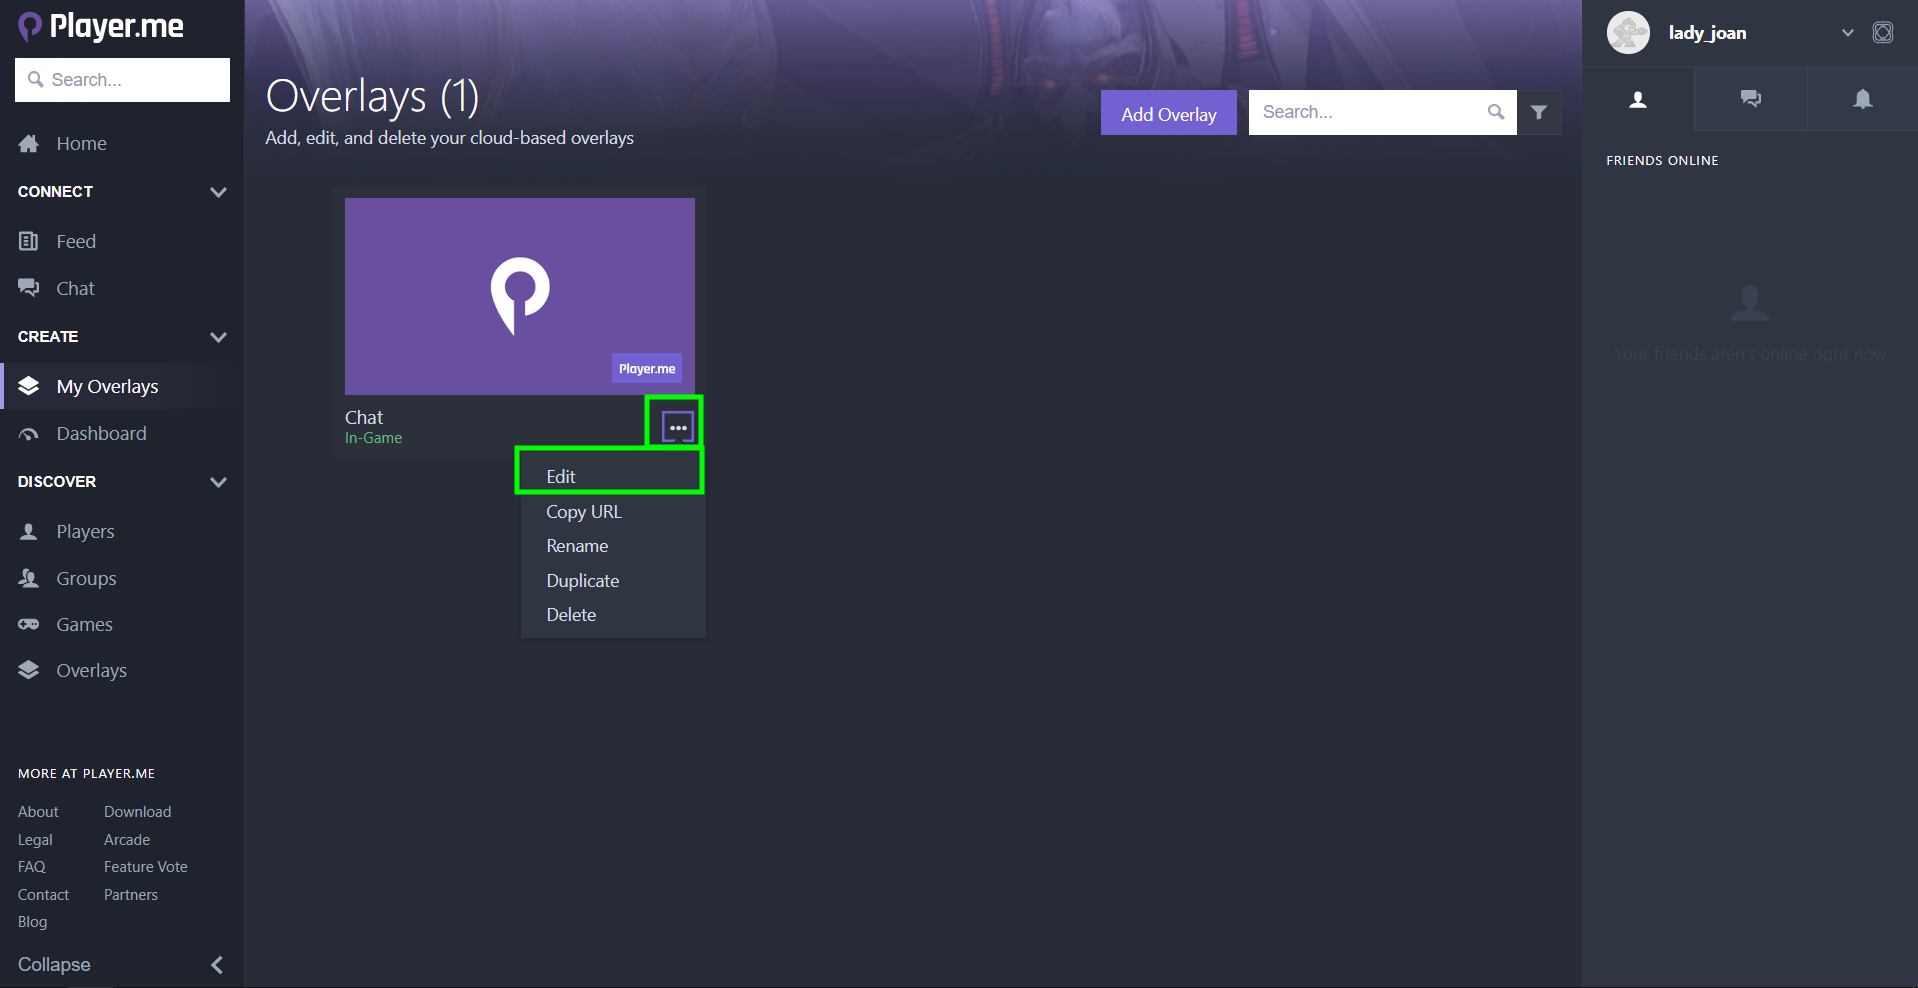
4. Click on the three dots icon and select edit. The editor will open in a new tab.
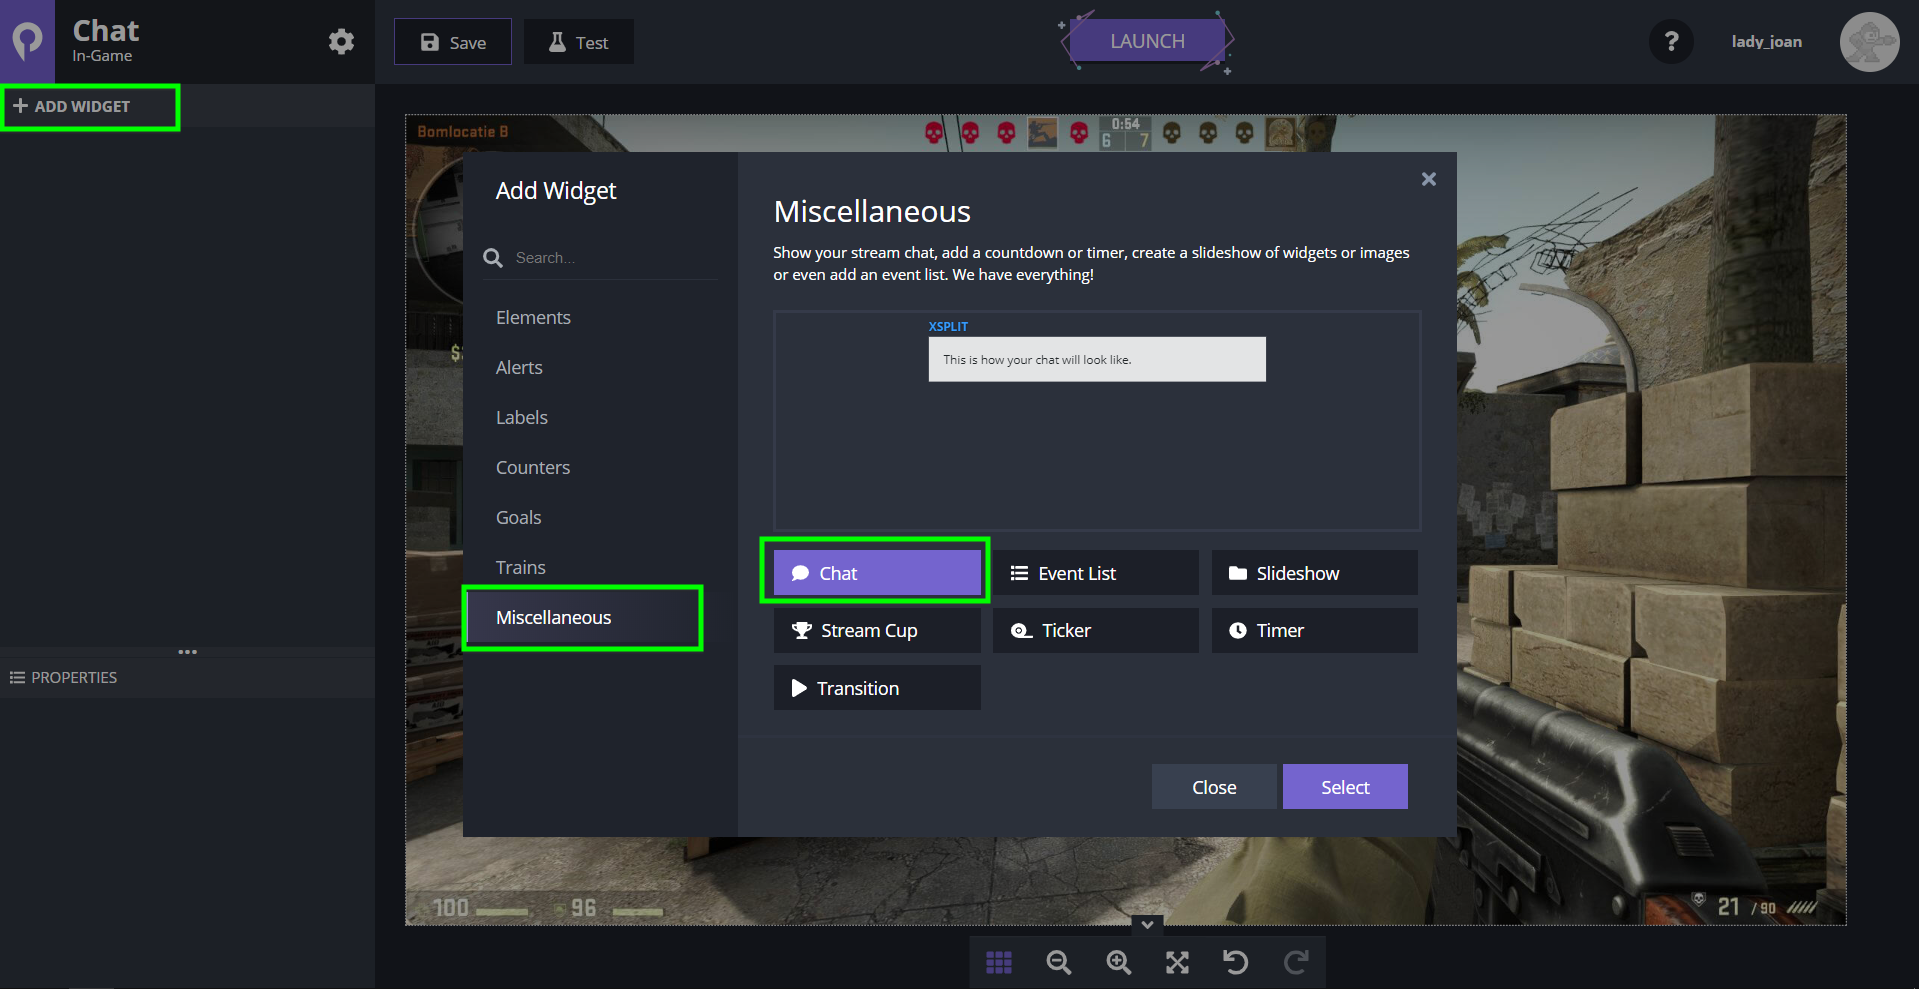
5. Click “ADD WIDGET”, go to “Miscellaneous” and select Chat.
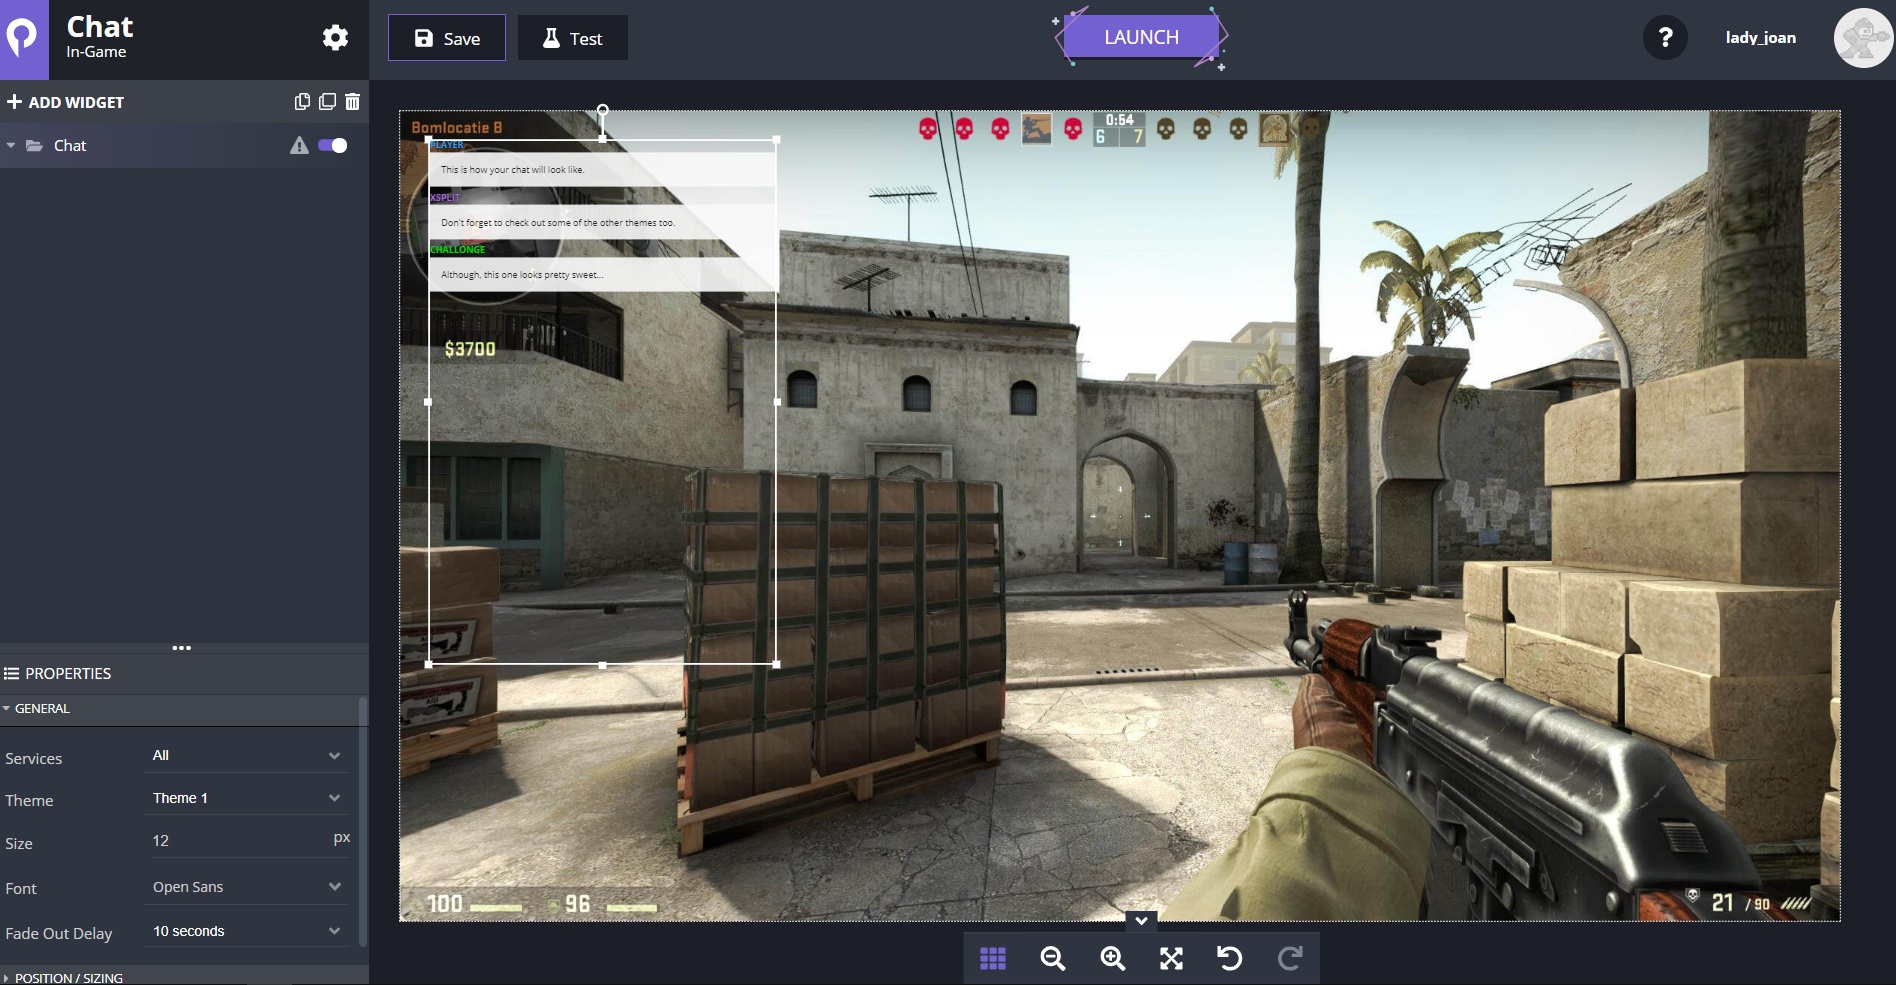
6. Adjust the size and position of your widget.
7. Click the “Save” button above to save the overlay
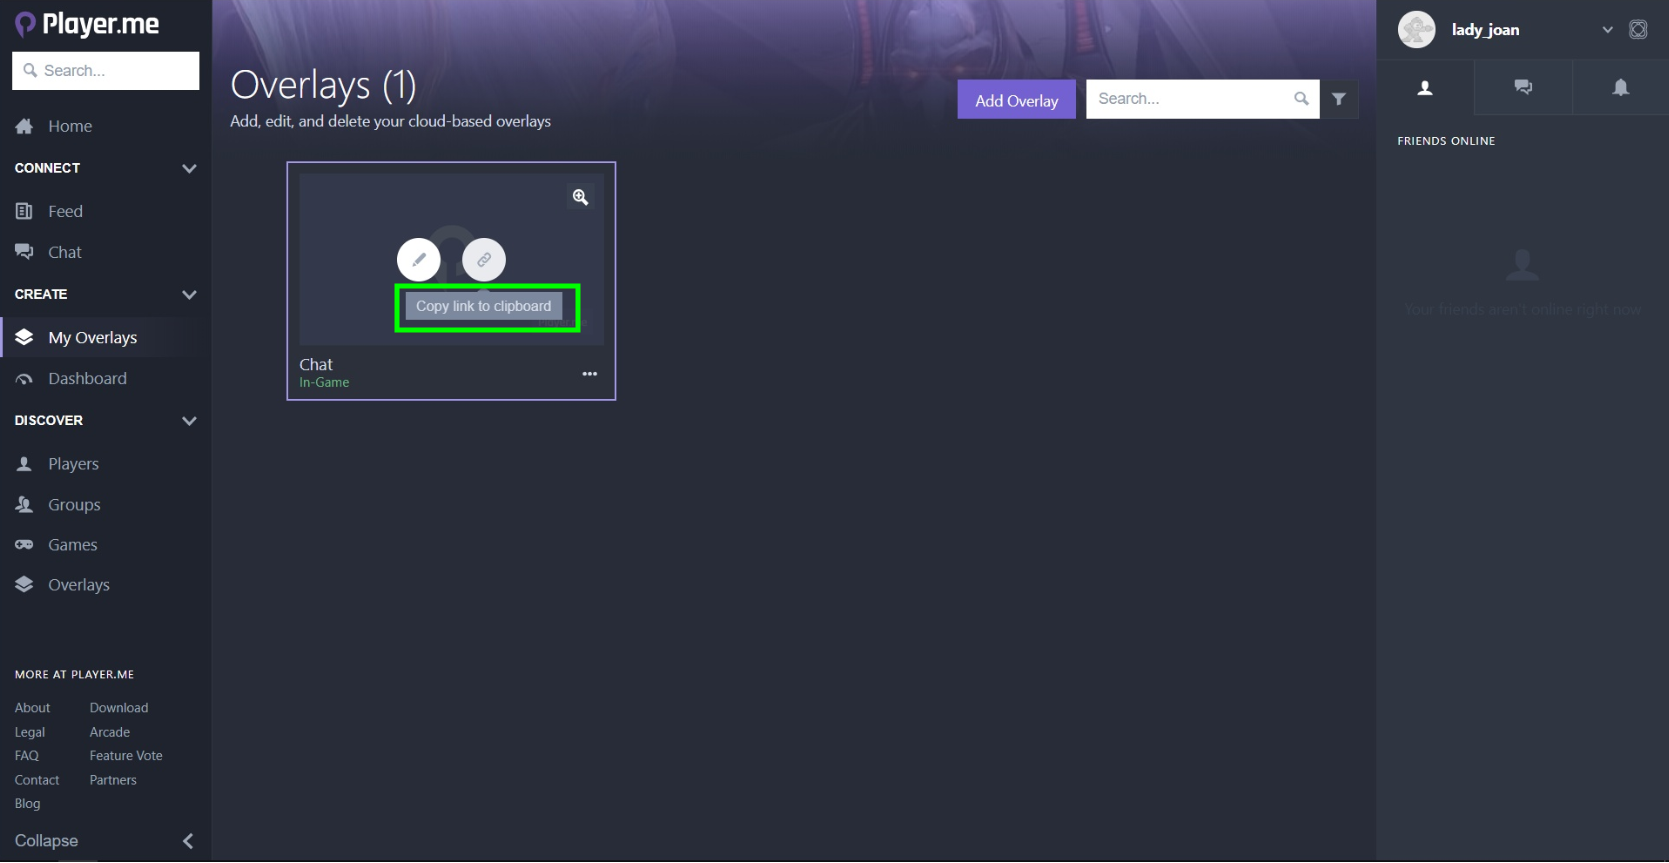
8. Close editor. Go to your overlay list, hover over your new chat overlay and select “Copy link to clipboard”?
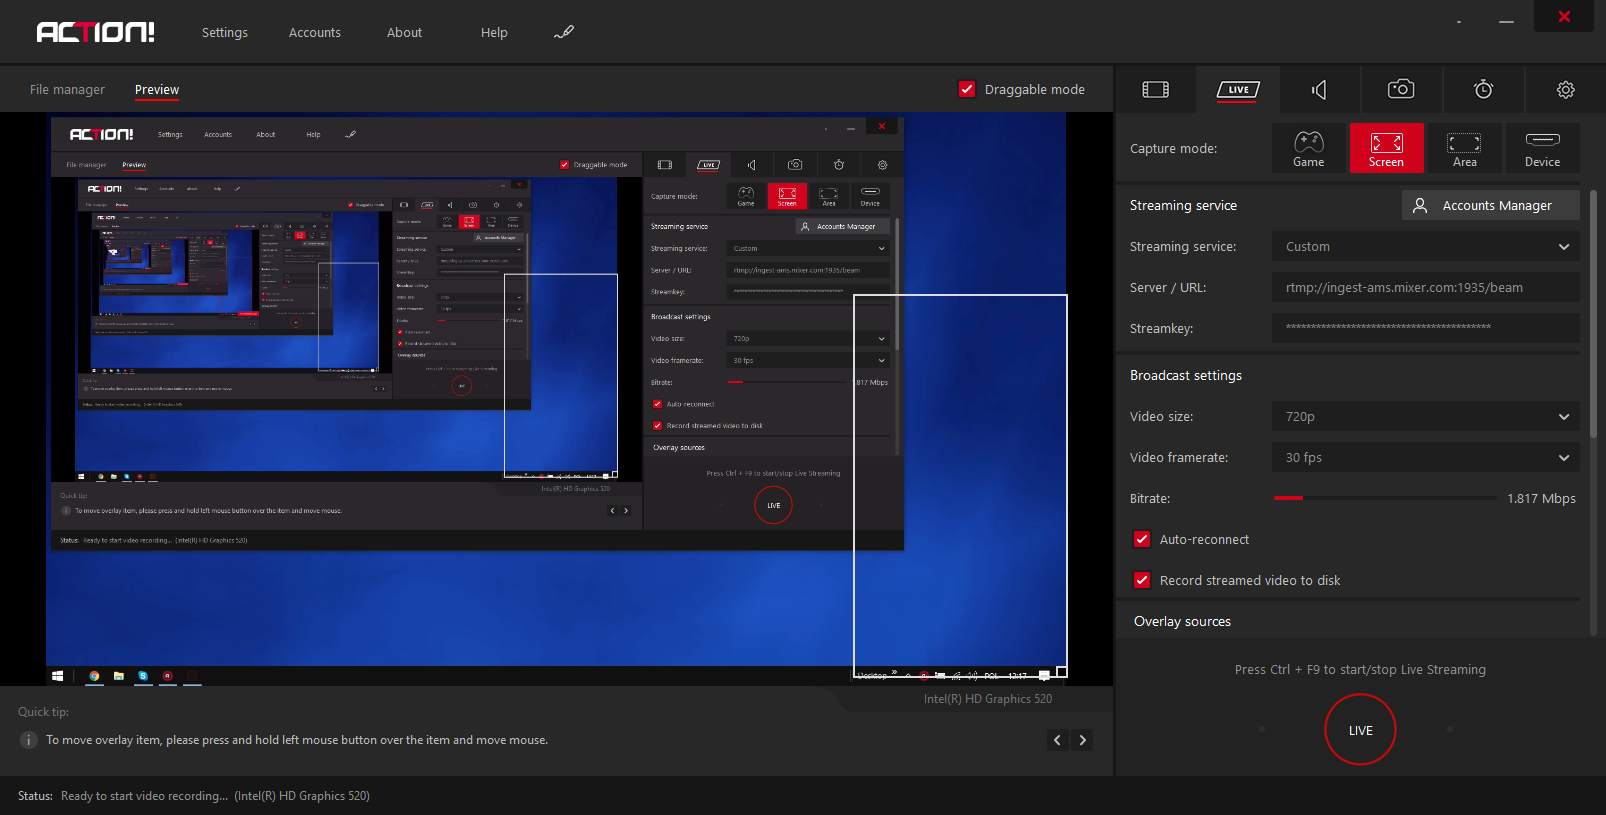
9. Run Action!, go to LIVE tab and scroll down to Overlay sources.
10. Paste the URL address into “Url 1” and select “Output mode”. Select “HUD” output mode if you do not want to include chat widget in your video game but still want to see it over your game.
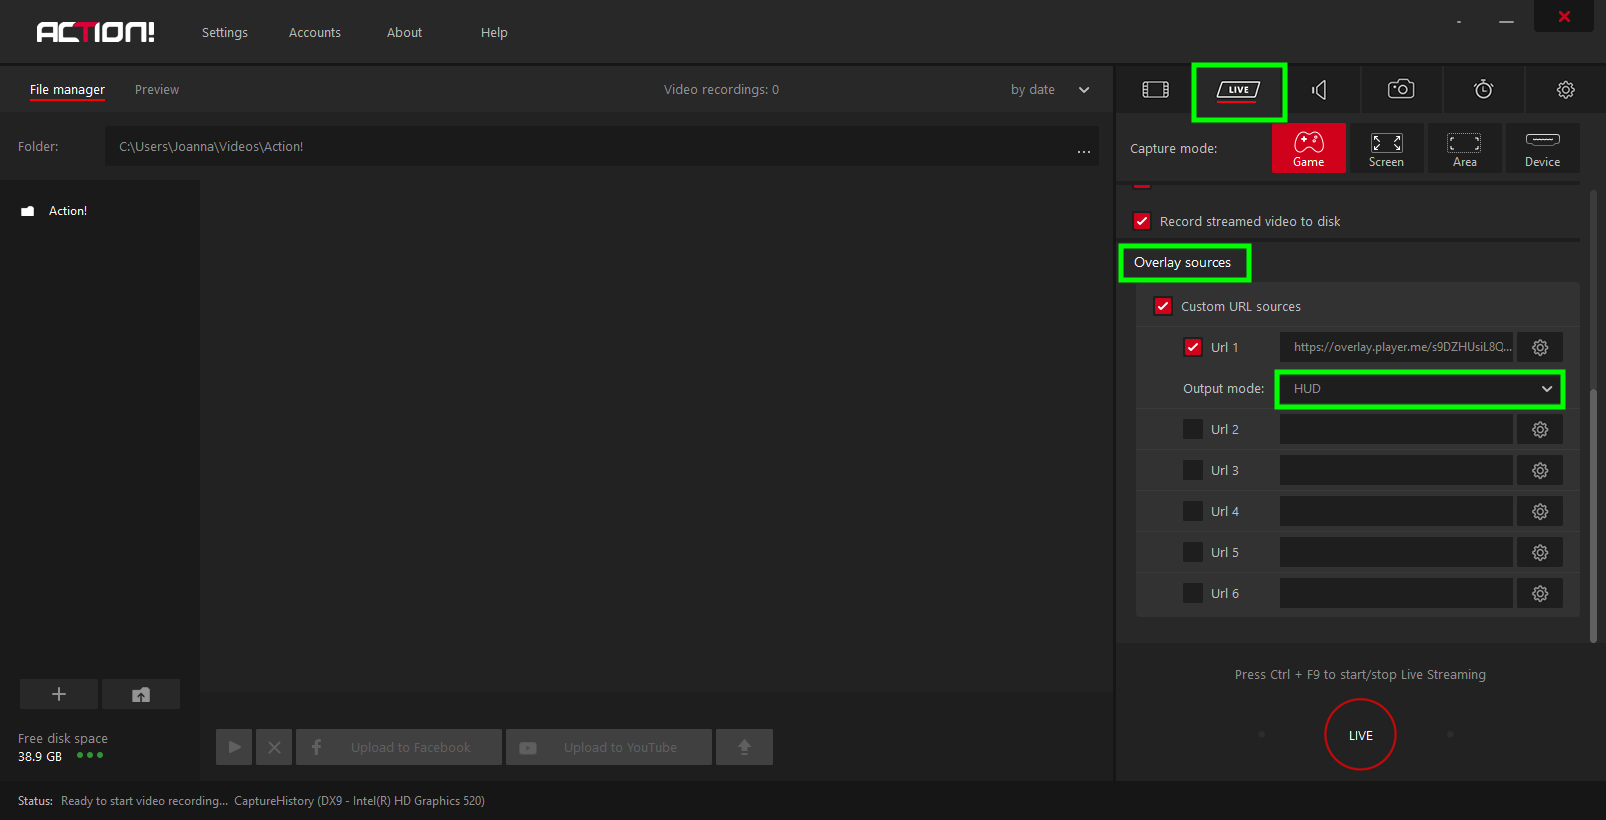
11. Remember to enable “Custom URL sources” and “Url 1” options to add your chat to your video and/or display chat on your screen.
12. Go to “Preview” mode to resize and reposition chat on your screen
EXTRA TIP!
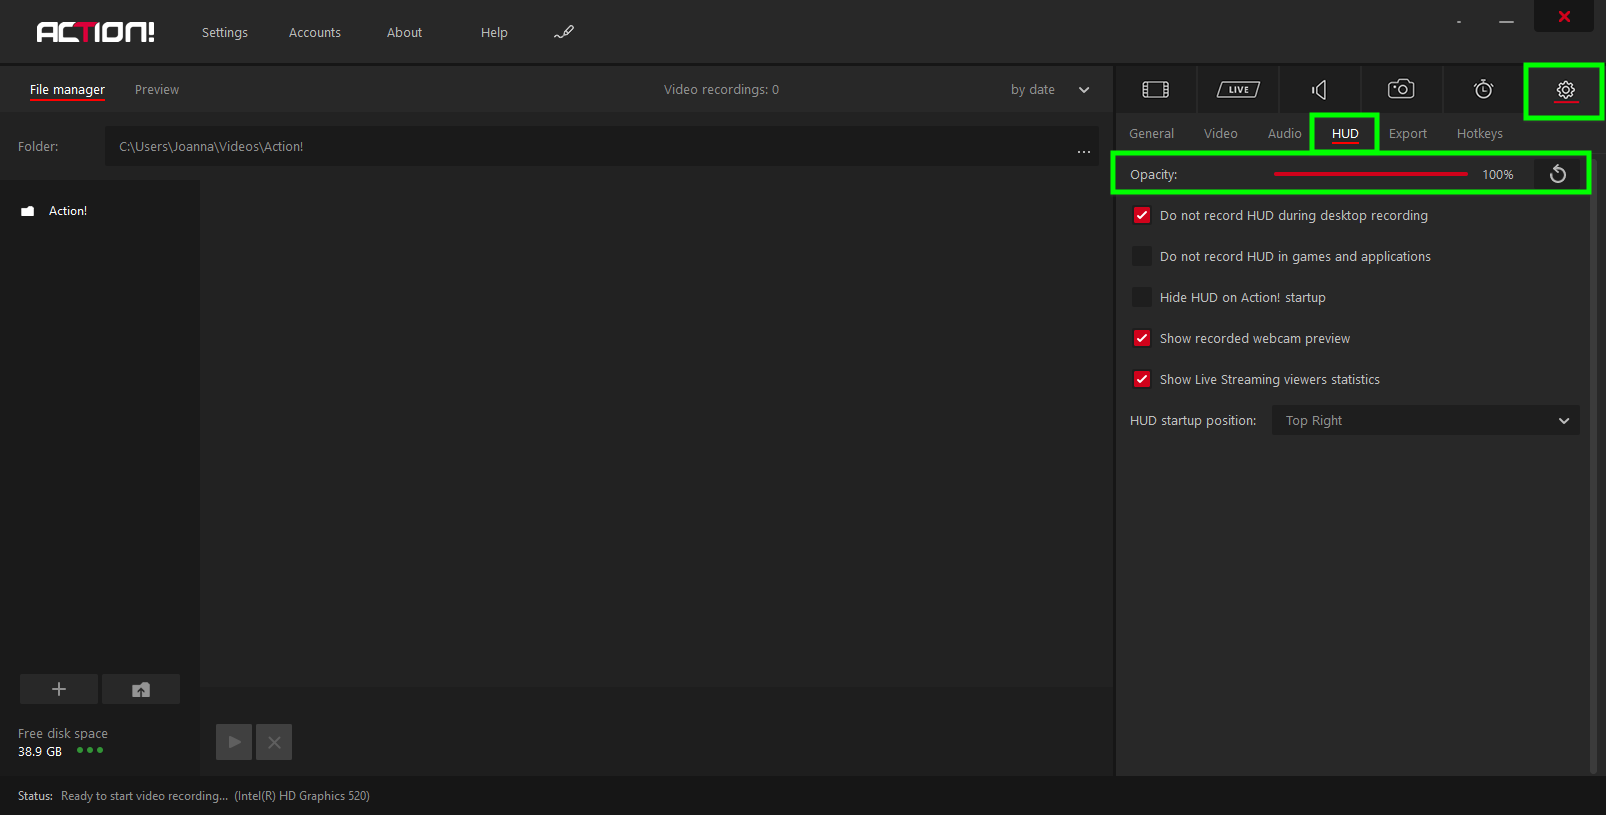
If you don’t want chat to distract you from the game, you may easily change the opacity level of your chat. Go to HUD settings and simply drag the slider to set the right opacity level.
ADDITIONAL INFORMATION
You can use chat overlays from other websites. Create an overlay, and follow steps 9-12 in order to properly add the chat overlay to Mirillis Action!
Have you made it? Let us know in the comments section below. Do you have any other questions or request? Our team of devoted developers will be more than happy to answer all your questions! Do you want any extra feature to be added to Action!? Go ahead, help us improve our software so that it could serve you even better!
Author: Mirillis Team