Do you know Live Streaming is great?
Do you watch popular streamers wondering how does it come that their LIVE streams look so great?
Would you like to change your LIVE streaming passion into a profession?
Well.. we will tell you how.
Need easy-to-use and powerful Live Streaming Software? Download Action! 3.0 and try it for FREE right now!
Regardless of whether you are just getting into streaming for the first time or you just want to make your LIVE Stream look better, this article is for you. In this post, you will learn how to give your stream a shine so that your viewers couldn’t take their eyes off it. We will help you make your broadcast more interesting, more entertaining and more appealing to your audience.
So, let’s dive right in!
If the terms “streaming overlays” or “graphic overlays” are new for you and you would like to know the secrets of LIVE streaming gurus, read on and learn how to dress up your stream with a great stuff such as: logo or custom graphic overlays, webcam with a Chroma Key, custom URL sources, follows, subscription or donation alerts, chat box, viewer count and many more.
But first, you might be wondering, what exactly is an overlay and how to use it? So, basically, an overlay is a graphic, gif, video or web source that is applied to your main video stream as a layer. It can be called a widget or simply a source and can provide you with interesting information about your stream and help you interact with your viewers.
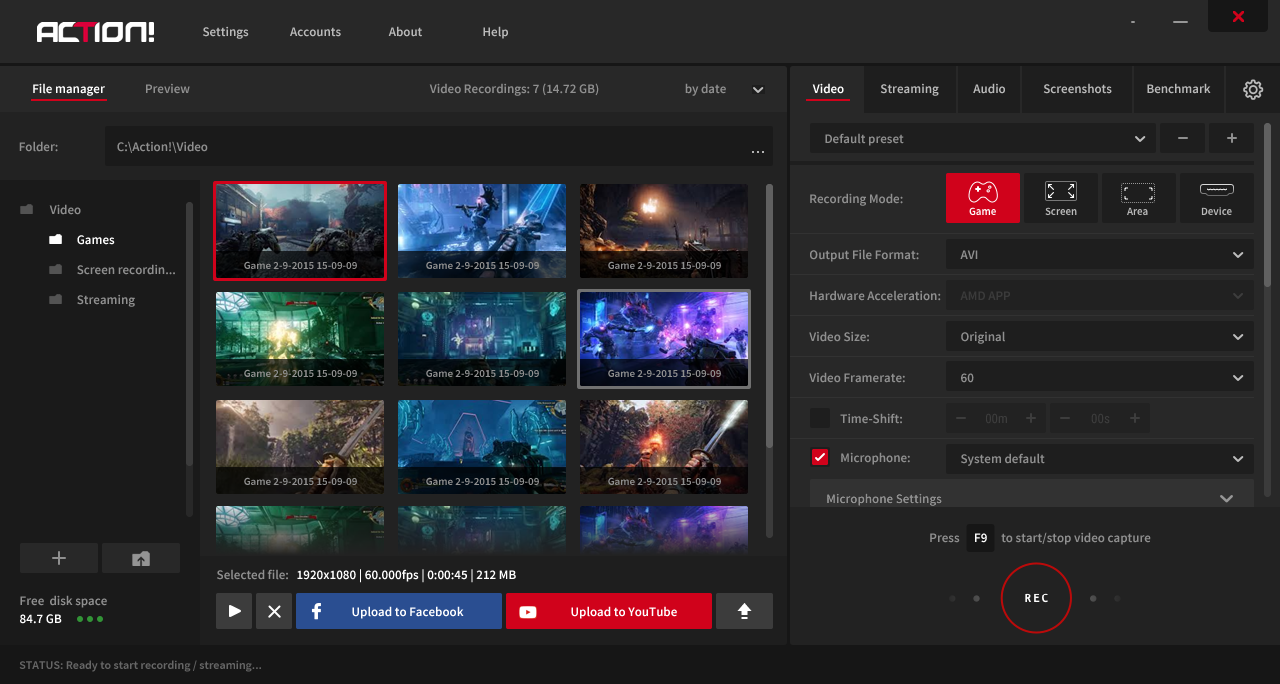
Fine, so where to start? At the beginning, you need to choose a Live Streaming Software that will match your needs best. In this tutorial, we are gonna use the most intuitive and easy-to-use streaming program that has made its name thanks to outstanding performance and really impressive ultra HD quality of video output – Action!
So, if you would like to try Action! 3.0 version click the link below and download the software on your PC.
Action! 3.0 Live Streaming Software
After going through the installation process, you can start configuring your first stream.
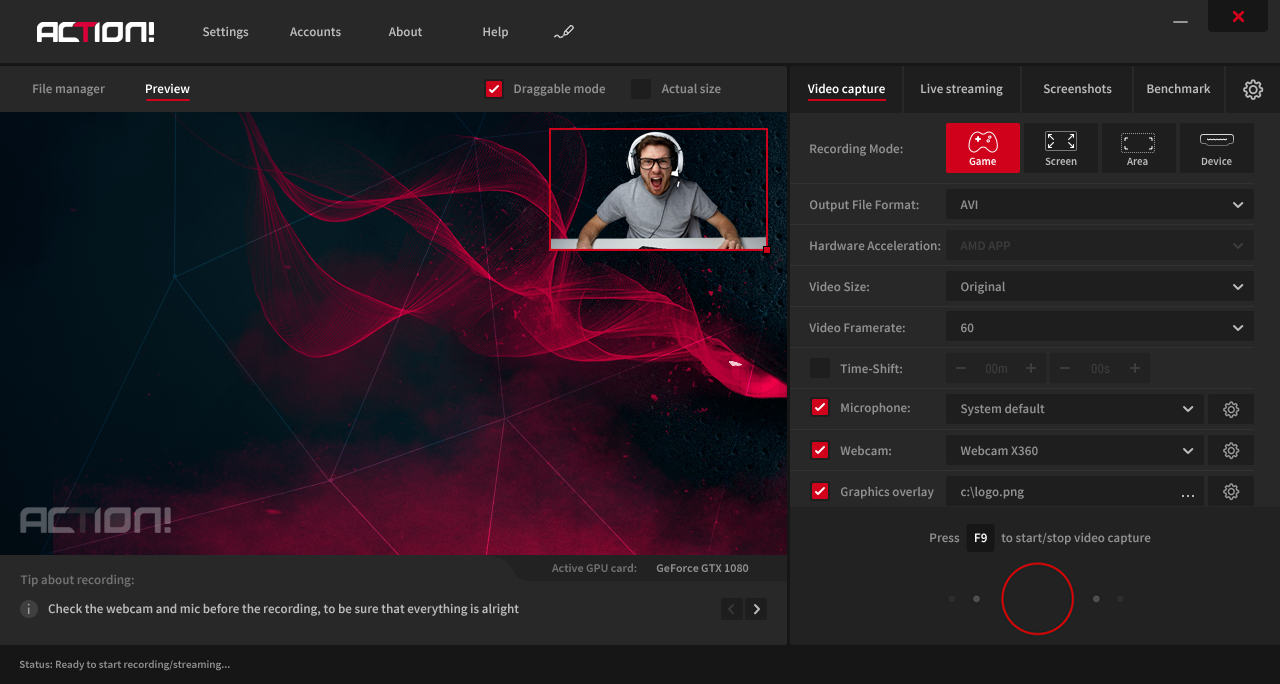
To add logo overlay to your LIVE stream, go to “Video capture” tab and then make sure to tick “Overlay graphics” to enable the upload of your own custom overlay from your PC. Check your logo position by clicking on “Preview” tab on the left side of the interface. Freely resize and reposition the logo on your screen. Next, add a webcam. To do this step, make sure to select “Webcam” as well, next drop down the list and if you have several webcam sources, choose the one that will be the most suitable for your stream. Click preview to easily manipulate the webcam overlay on your screen.
A piece of cake, isn’t it?
Now it’s time to apply the right overlay sources. The website and a service we’re gonna be using today is called Streamlabs and technically, it is the same as Twitch Alerts. Basically, Action! allows you to copy and paste any URL you like and it will be displayed as a graphic or video file on your stream. However, to apply really nice and fully customized widgets you need to visit streamlabs.com. The very cool feature of Streamlabs Overlays is that you can completely customize the look of each widget according to your preferences. So you can decide how those alerts appear on your screen, you can make a custom image, custom text, custom sound and technically anything you want to let your viewers see. There is a heap of different options to choose from, that is why in this tutorial we will focus mainly only on few things: follows, subscribers and donation alert as well as chat box and viewer count.
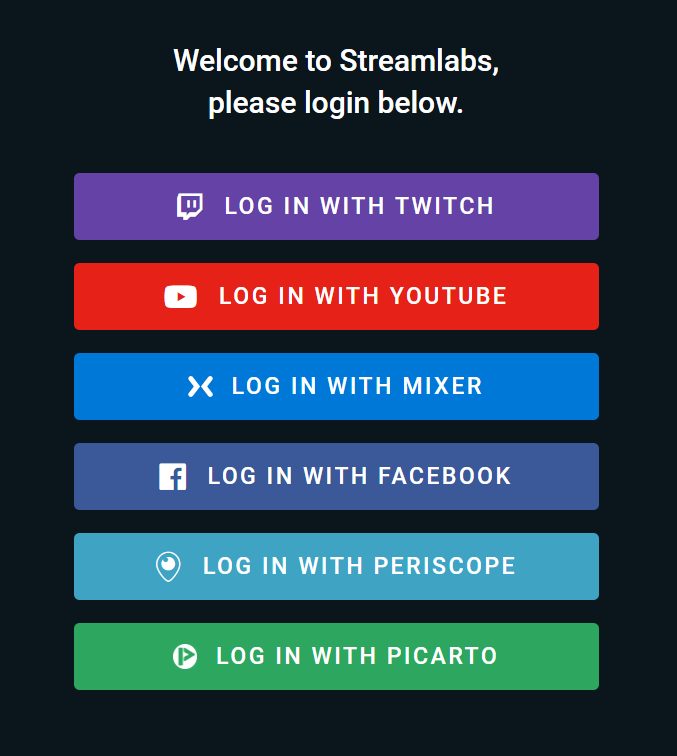
To start configuring your overlay you need to head over to streamlabs.com and click “Launch streamlabs”. Next, you need to choose the platform you want to connect. We will pick up Twitch.
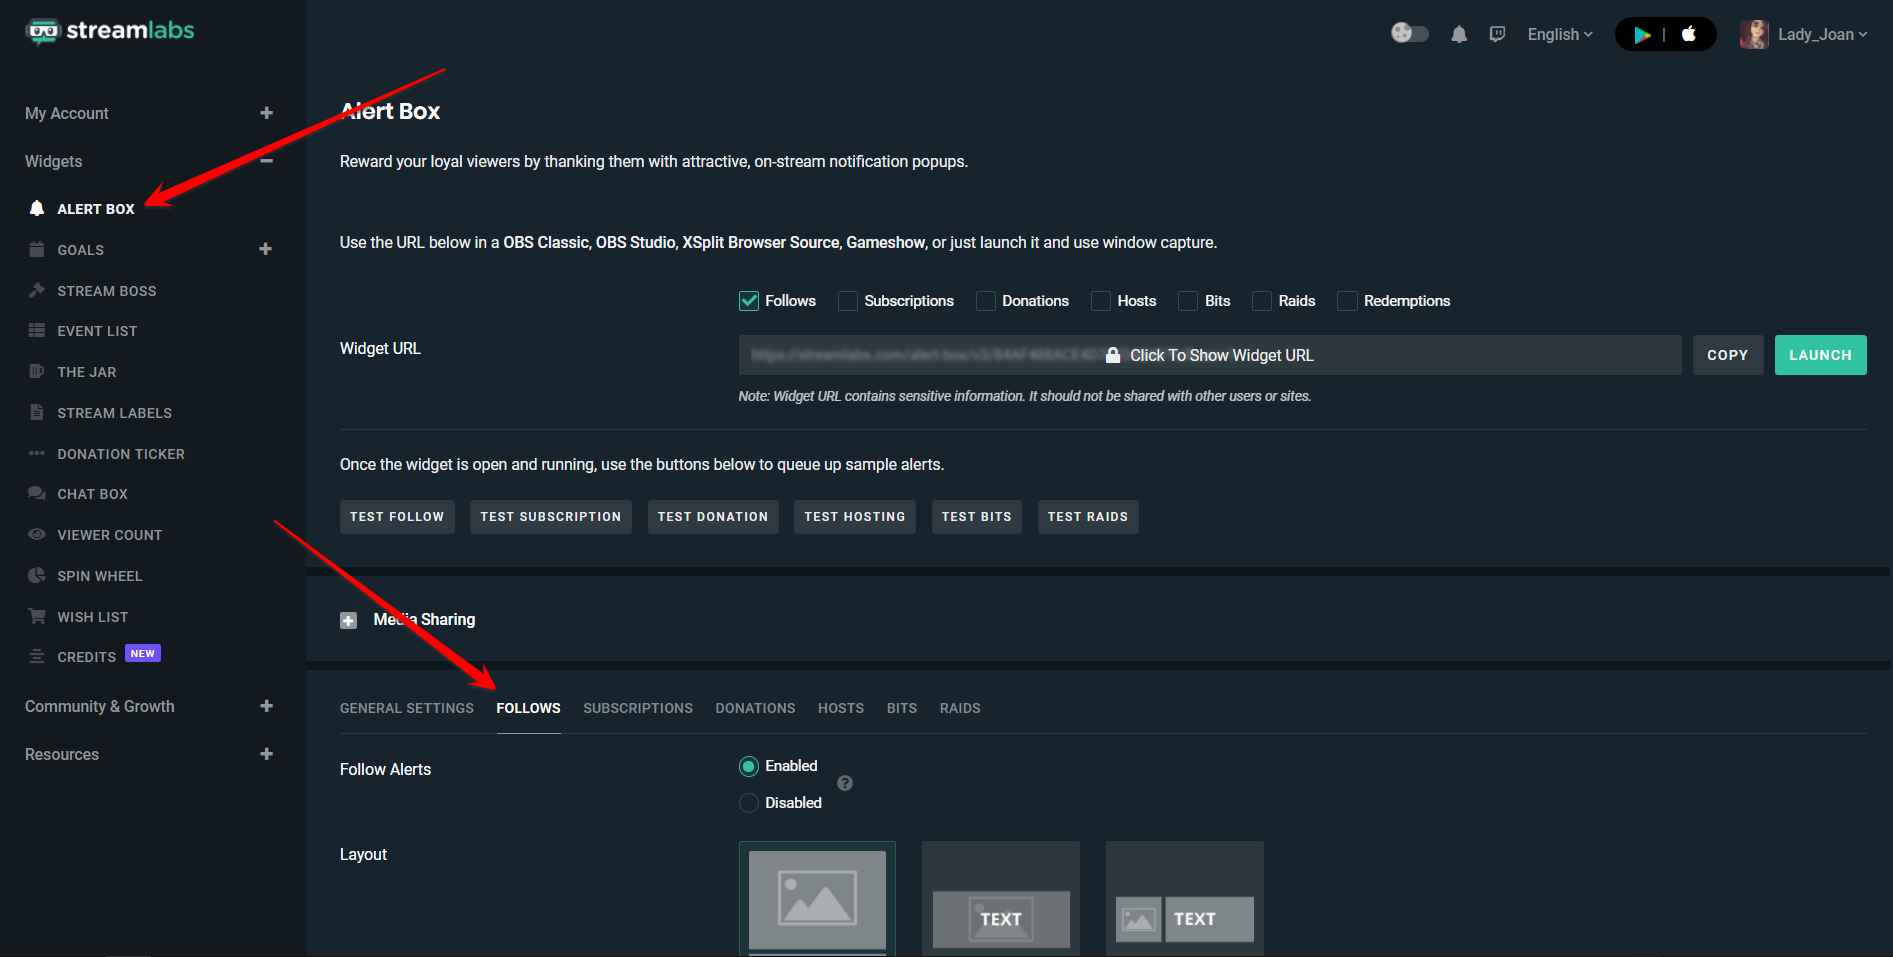
After authorization process, you will be taken to the dashboard. Click “Alert box” – You will see on the right side that we have separate tabs for Follows, Subscriptions, Donations, Hosts, Bits and more. We will start with “Follows”. The picture below helps you to localize the right tab.
The very first option you can see is whether to enable or not an alert on your stream when a new viewer clicks to follow you. So if are not a million audience streamer, when you get a new follower it’s great to interact with them, ask a question or just say hello.
EXTRA TIP: When to disable a follow alert? Well.. if you are a big streamer and you get new followers all the time during your stream, the alert pop up might be quite distracting for you and your viewers.
Okay. I’m not yet a million fan streamer and I leave my alert enabled, what now?
Scroll down to choose the right layout, animations, text, sound and more. Save settings and go to the top of the page to copy the URL. Head over to Action!’s user interface and under the section “Overlay sources”, tick the box and paste the URL in the field. Click preview to adjust the overlay to your stream. Go back to the streamlabs.com and click “TEST FOLLOW” to check how does the alert will look like on your stream.
Next, click the subscription or donation tab and repeat the customization process choosing the same or completely different settings. Don’t forget to save the settings and then copy and paste URL into Action!’s interface. Check how your alert performs on your stream by clicking “Test Subscription” or “Test Donation” in Streamlabs dashboard. Next, go to Action! and click “Preview” option that will display your video composition preview.
Go back to Streamlabs dashboard main menu, scroll down and customize a chat box. Resize and reposition the chat box on your screen in the preview mode. You will be able to see your chats after your stream starts. You may also add a “Viewer Count” alert to your stream. Customize viewer count alert, save changes, copy URL and paste to Action!’s interface.
As you can see, the possibilities are countless and the customization process is not that complicated as you might think at first. Play with other overlays to make your LIVE stream even more professional and entertaining.
The last thing that needs to be mentioned, is Action!’s hidden control layers. These are layers that help you monitor the status of your stream that are visible only to you. Technically, we have 2 control layers in Action!
The first one is: Action’s HUD displaying the status of your recording, free disk space, viewers counter statistics, FPS, microphone volume level, duration of your recording and webcam preview if enabled.
The second contains more advanced system statistics like CPU usage, GPU usage, network usage, disk-load, CPU and GPU temperature and the amount of the free GPU memory. Crazy, right?
Note: the System Monitor Layer is not yet available in Action! 3.0 Beta, and will be added in the next update this week.
Okay, now you can call yourself a LIVE streaming Ninja and you can slap an “S” on your chest because you’ll be unstoppable! Hope our post was helpful and we inspire you to make awesome, outstanding
and just never-to-be-forgotten Live Streams!
Good luck!
Author: Mirillis Team


3 Comments
Thank you so much i was trying to figure out how to use streamlabs with Mirillis Action! but i could find anything .
This is great, but I am on the most up to date version of Action! and only one overlay displays on screen. I have 2 overlays, but only one of them is ever visible to me. The other is visible to the viewer, but it isn’t visible to me therefore causing me to be unable to see what the 2nd overlay even tells me. Why can’t I do that?